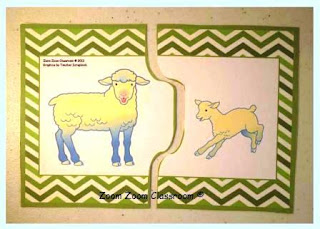
Two_Piece_Puzzles_Adults_and_Babies.
Below are directions that can be used to make the two piece puzzles. There are two methods. The first method requires the use of heavy card-stock with no lamination. The second method requires the use of lamination with thick film.
Method 1 - Without Lamination:
 |
| Step 1: Print the puzzles on heavy card-stock. |
 |
| Step 2: Cut on the outer lines. |
 |
| Step 3: Cut through the center line which will create the puzzle. |
Complete Steps 1 & 2 from the directions above. (If you are planning to laminate with the thick film, you can print the sheets on plain paper.) Do NOT complete step 3 from the "Without Lamination" method. Continue by following the picture-directions below.
 |
The puzzles will look like the picture above when the lamination process is finished.
|
 |
Cut on the outer lines of the puzzle. This is the solid, green, outer line from the picture shown. (This step is done twice - once before laminating and once after laminating.
|
 |
Cut though the center line. You are cutting through a laminated puzzle. IMPORTANT! Do no trim. Doing so will cause your puzzle to become misaligned.
|
In addition to the farm animal adult and baby puzzles, I also created a Number to Numeral puzzle set . Below is a picture of the Number to Numeral puzzle set. I updated it in July 2014 to include the number ten which is not shown in the picture below.
 |
I included a black and white version along with the color sheets within this file. You could use the black and white version to create family take-home packs for your students to practice the standard at home. This file supports Common Core State Standards CCSS Math Content.K.CC.B.4 and CCSS Math.Content K.CC.B.5. Here is a link to the product: Two_Piece_Puzzles_Number_To_Numeral_Match ups_Farm Animals
|
 |
Here is a link to the product: Two_Piece_Puzzles_Word_To_Picture_Match ups_Farm Animals
|
Lessons by Molly © 2013 All rights reserved.


No comments:
Post a Comment